Creating your first Chatbot
To start with the first chatbot we can create a sample Lead Generation Chatbot. A Lead Generation Chatbot is used to collect basic customer information of the customer. This information can be used later for different purposes like contacting customers for sales/enquiries. In this example, the chatbot will
- Greet the customer with a Welcome Message
- Collect the Customer basic information – Name, Mobile Number & Email Id.
- Make a service call to an API to generate a lead that is sent to the system via E-mail or CRM.
- A Thank you message will be shown.
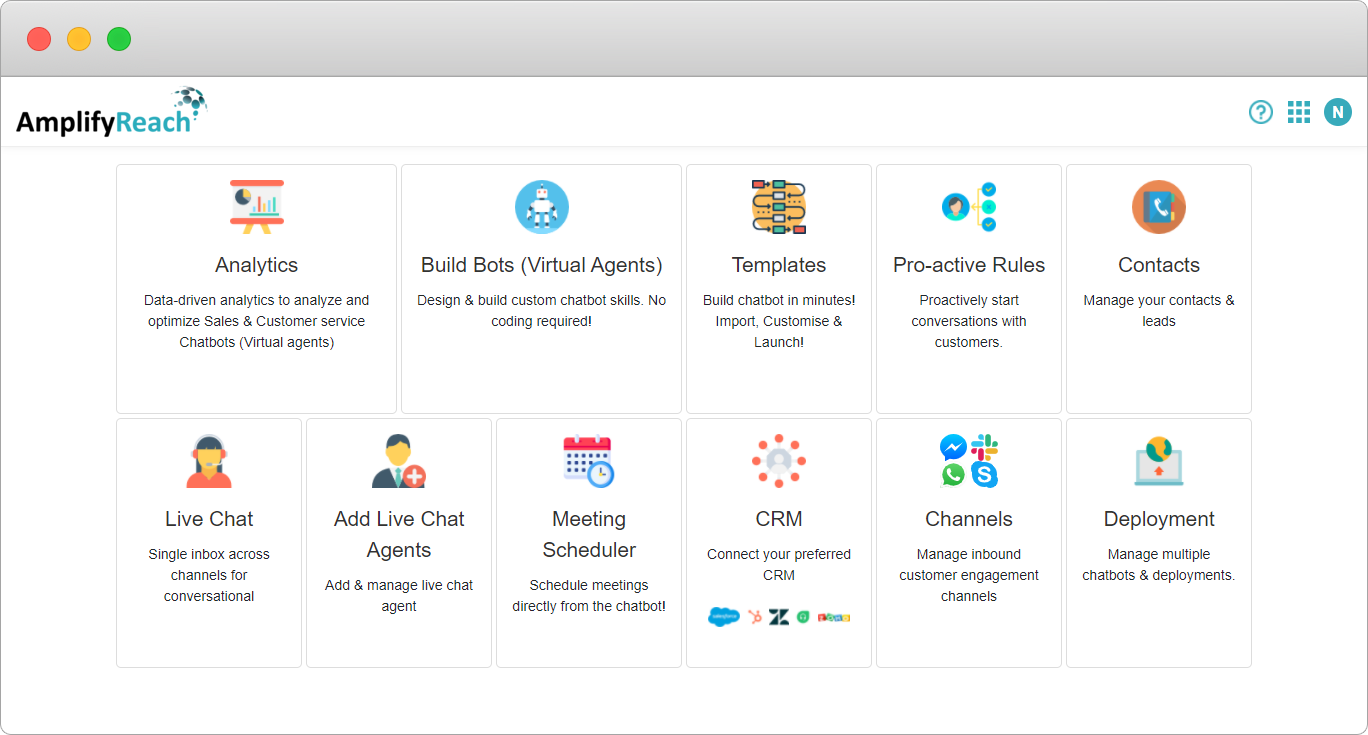
1. Login to AmplifyReach → Build Bots
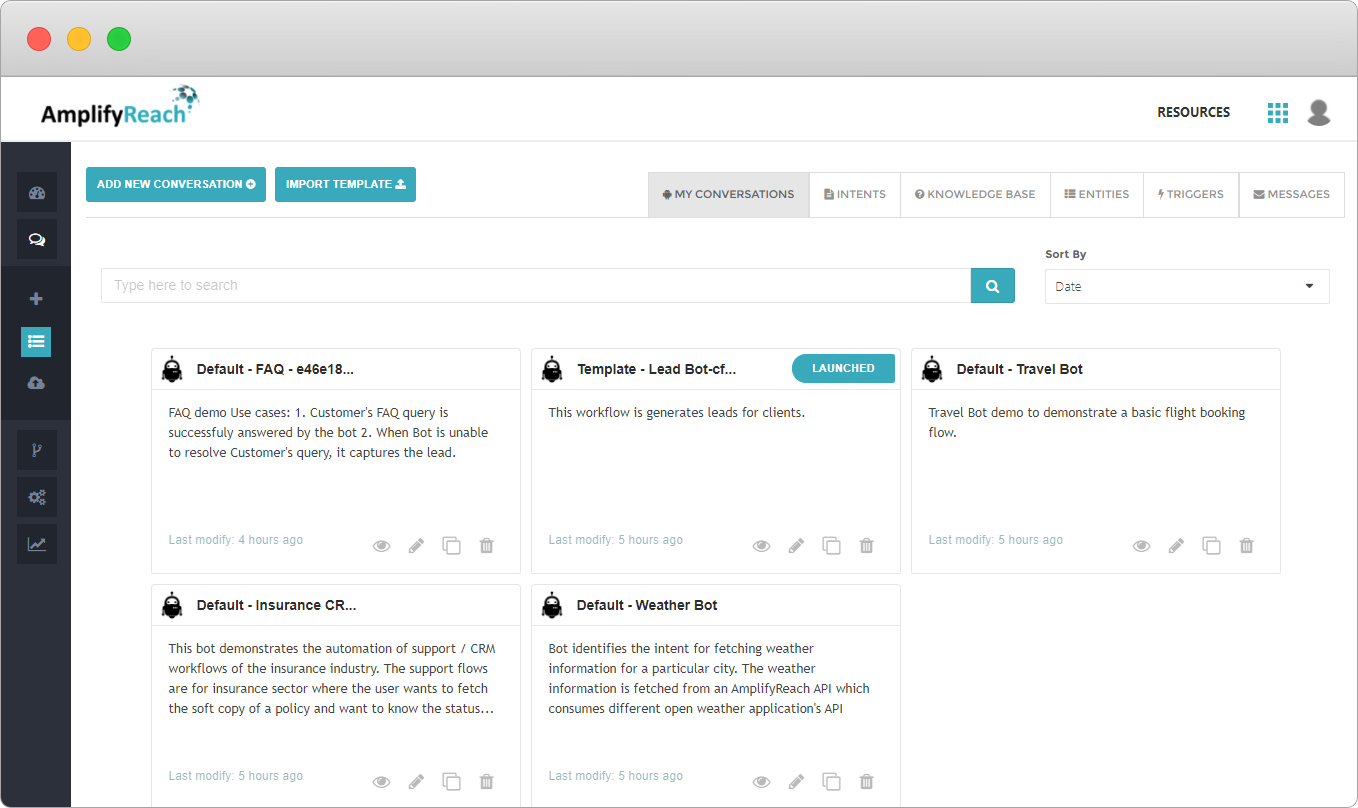
2. Select Create New Conversation
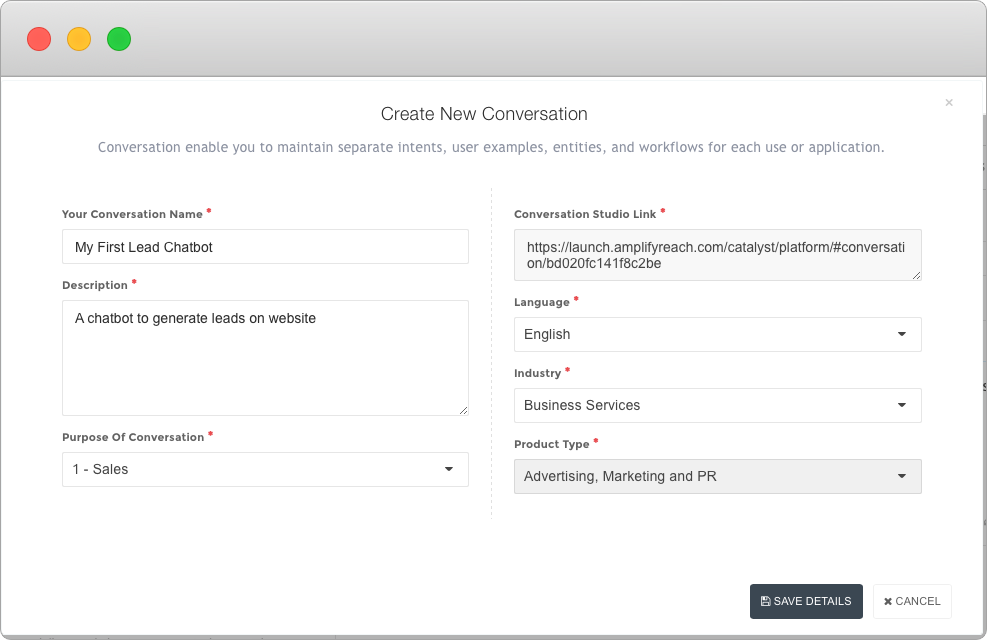
3. Fill up the basic details for whom you are designing the workflow and the purpose of the conversation.
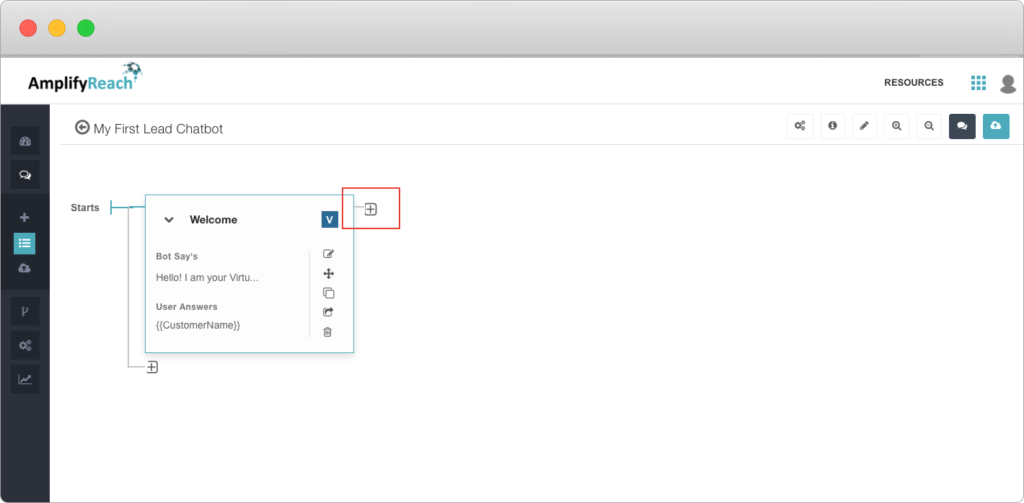
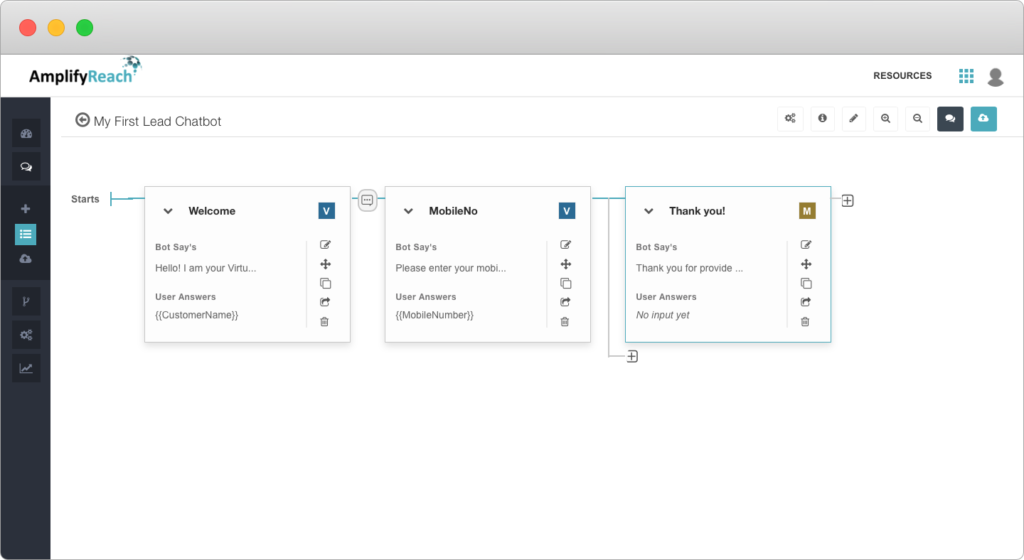
4. Now you can start building conversation step by step. For each message in a conversation, the conversation node should be created. The following screenshot shows the first node created by default. Click on edit.

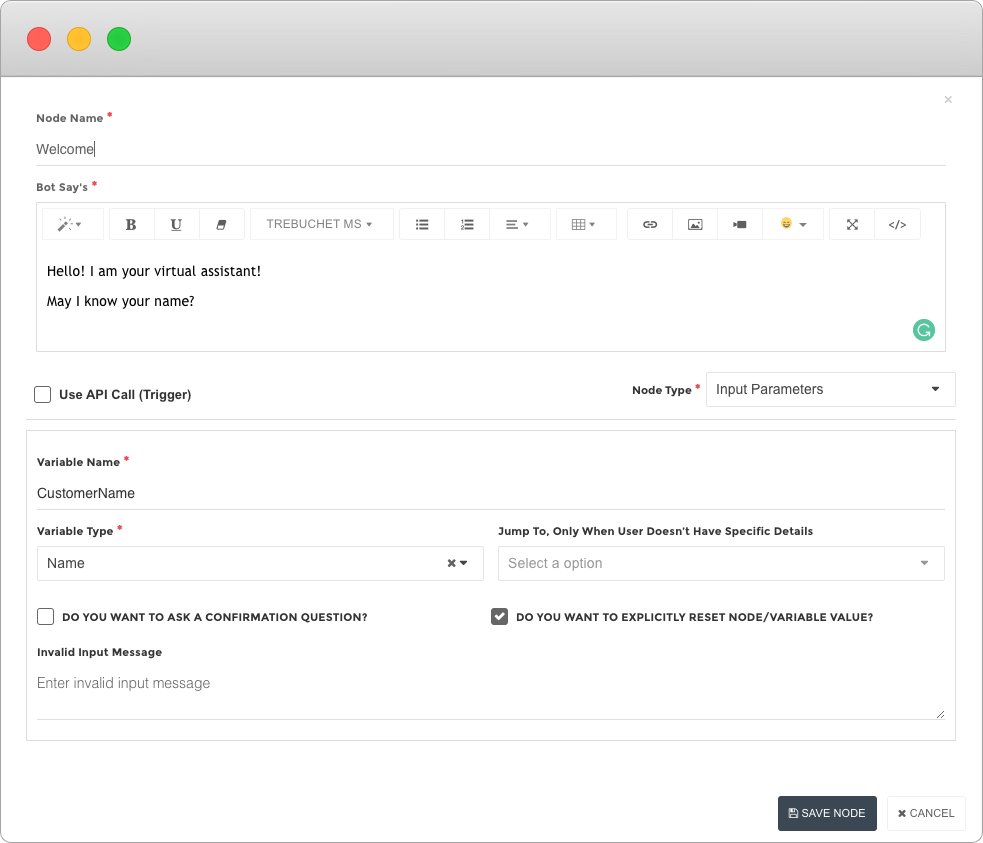
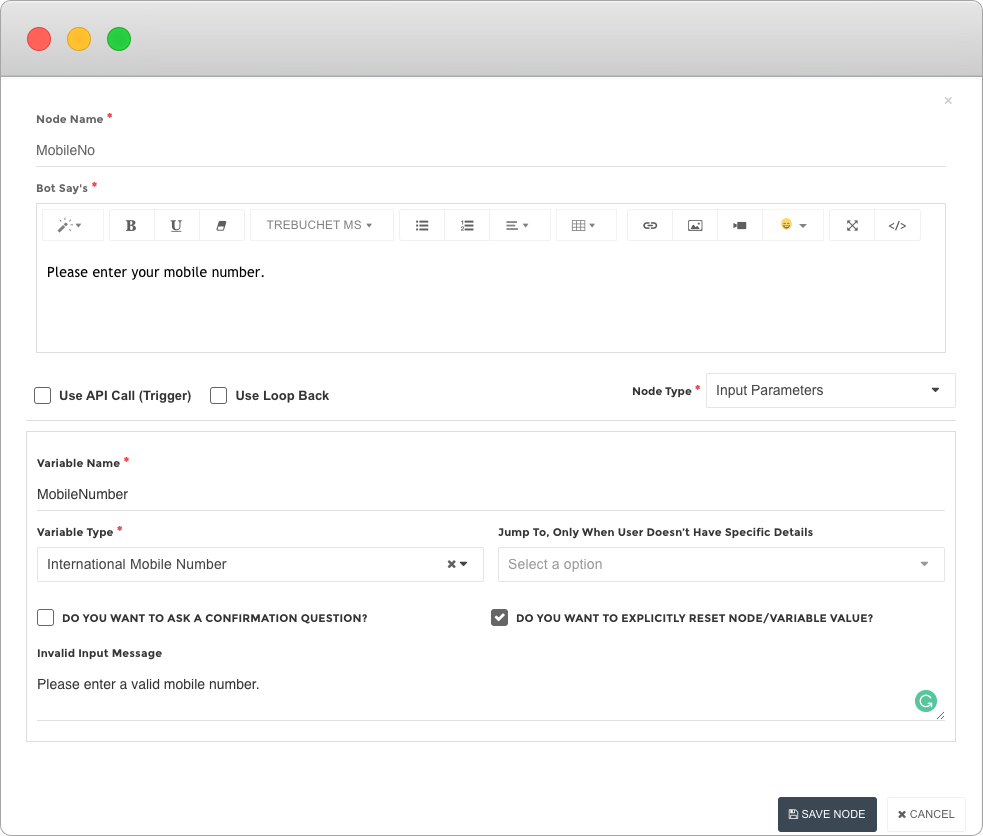
5. Enter the message details per your chatbot requirement. The message entered in “Bot Says” will be displayed to the user. Node Type: For simple messages, Node Type should be set as “Message”. As we need input from the user, (i.e. name) set the node type as “Input Parameter”.
Set Variable Name as CustomerName, Input Type as Name. Click Save.
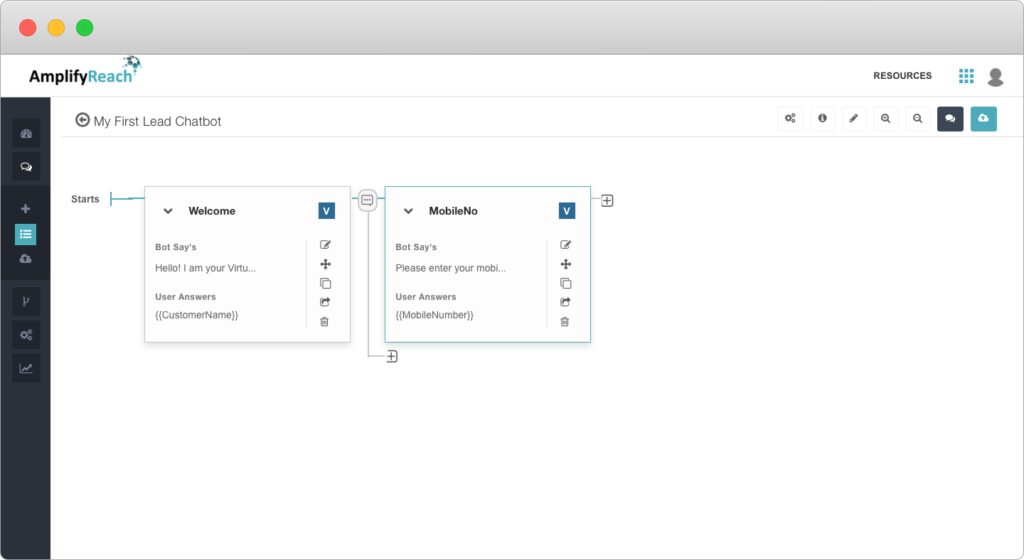
6. The next step in the conversation is to accept the mobile number of the customer. Add the next node using the + sign next to the existing node.
7. Add details to accept a mobile number from the customer. Click Save
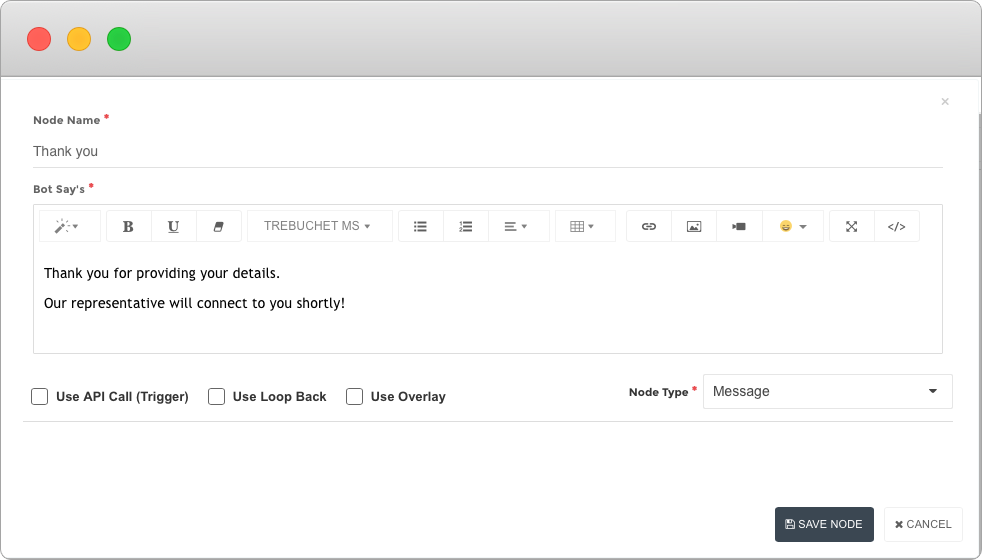
8. Add a thank you message
You are almost done with creating your first Chatbot! Click Save  on the top right corner.
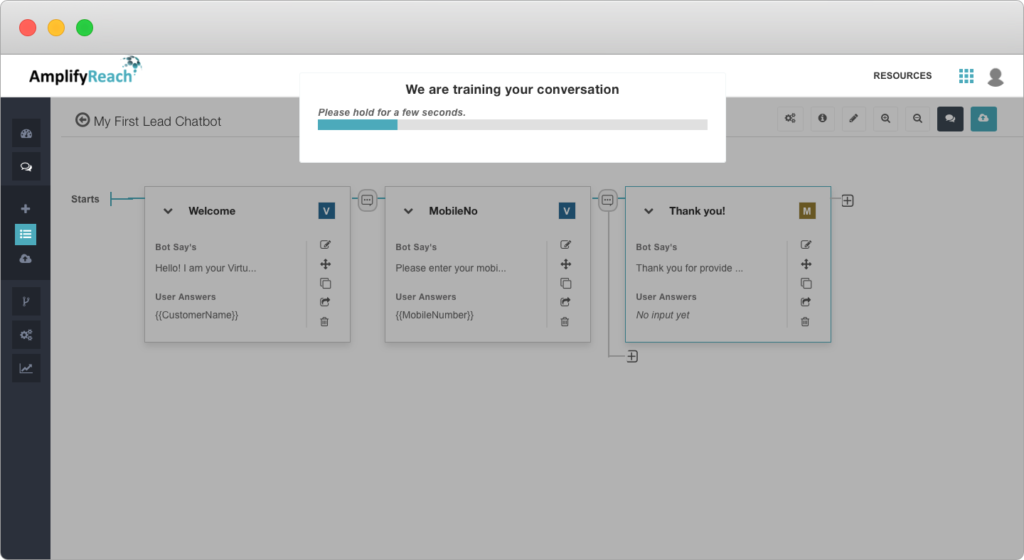
9. You can test your chatbot immediately! Click on the tryout button  on the top right.
10. Clicking Tryout will train the Chatbot with the instructions given in each node.

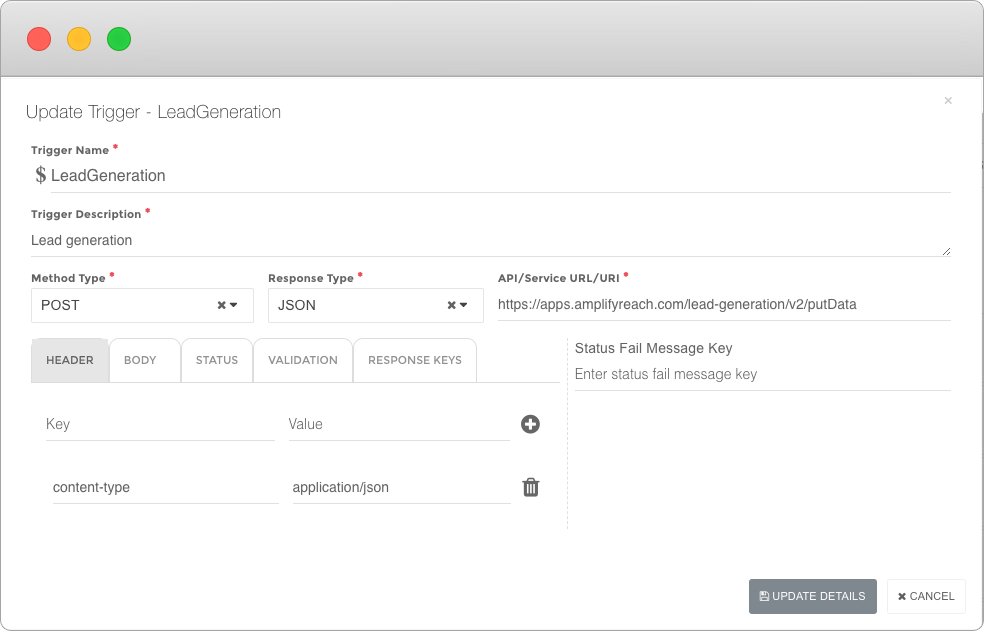
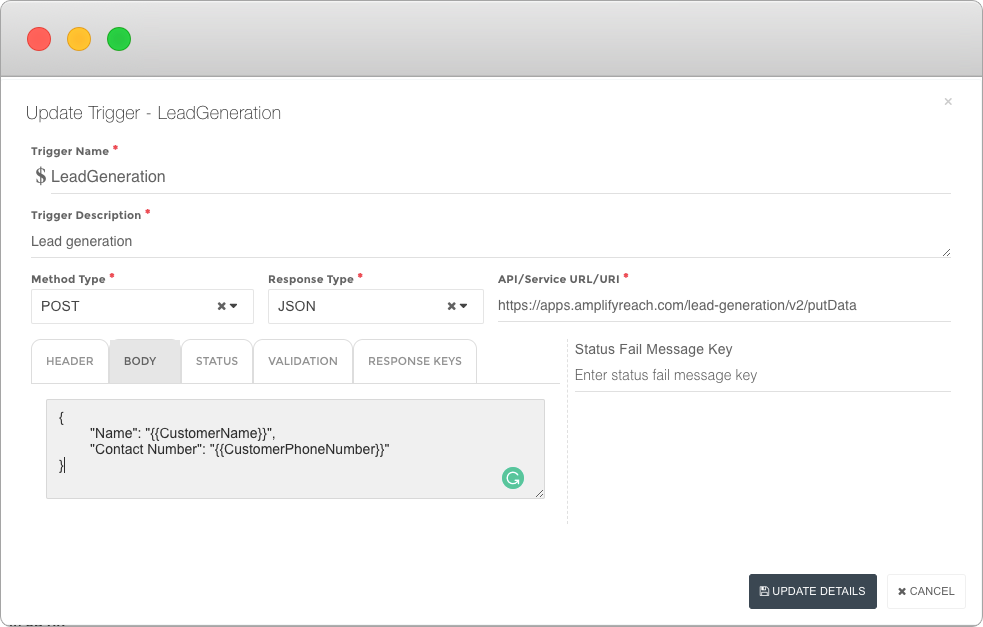
11. You can integrate API in chatbot to generate a lead that is sent to the Client via E-mail or CRM.
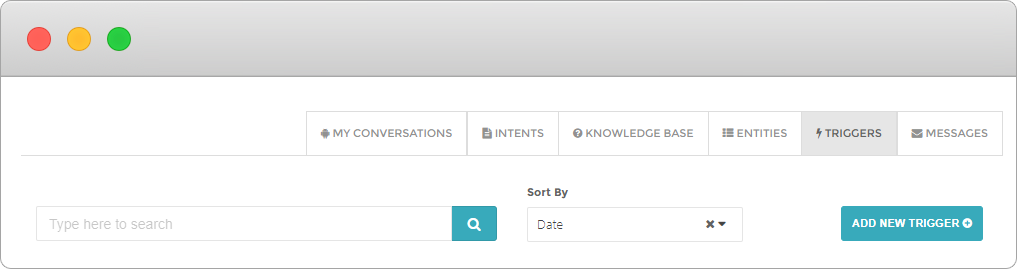
Click on Add New Trigger
Fill up the details required:
- Trigger Name – Mandatory field
- Trigger Description – Mandatory field
- Method Type – GET/POST/PUT etc.
- Response Type – JSON/XML
- API/ Service URL – URL endpoint
- Header – Add header(s) with key-value
- Body – Add trigger body in case of POST/PUT methods
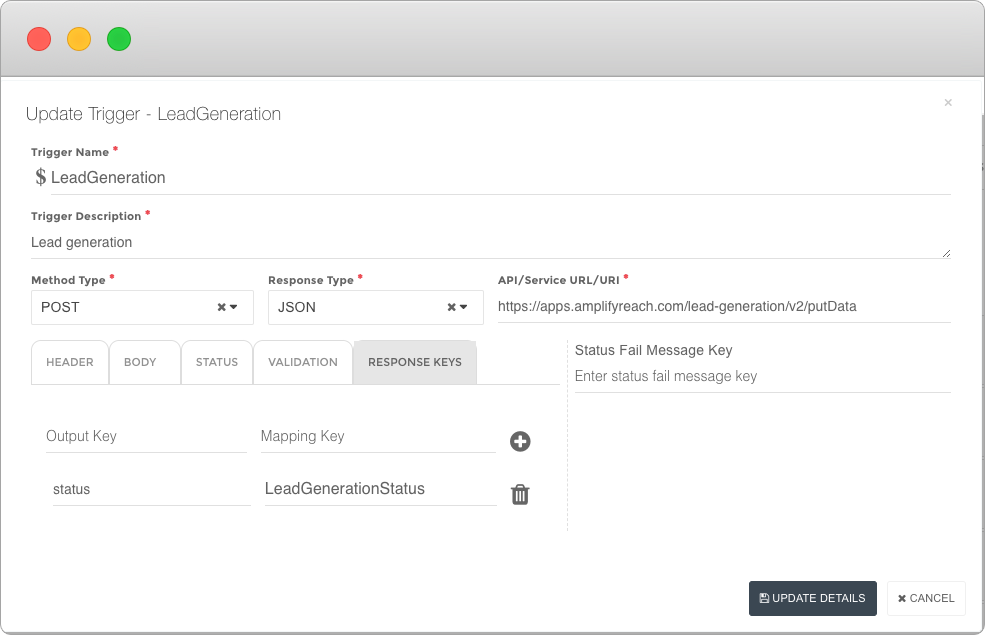
- Response Keys – Map trigger responses to the variables for using it further in the conversation.
Trigger Header:
Trigger Body:
Trigger Response Keys:
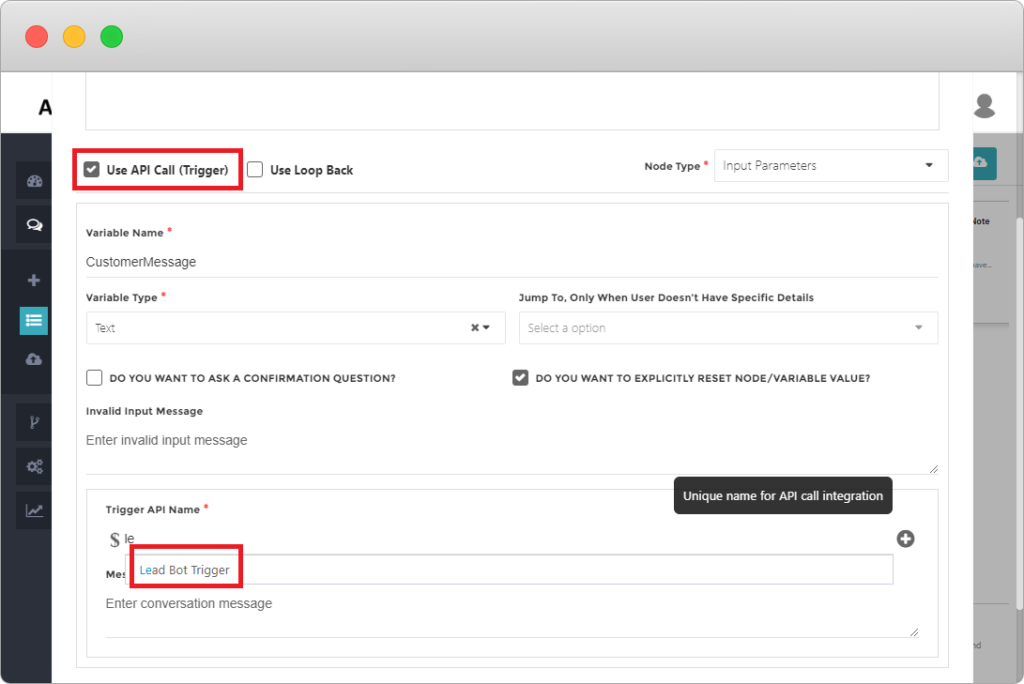
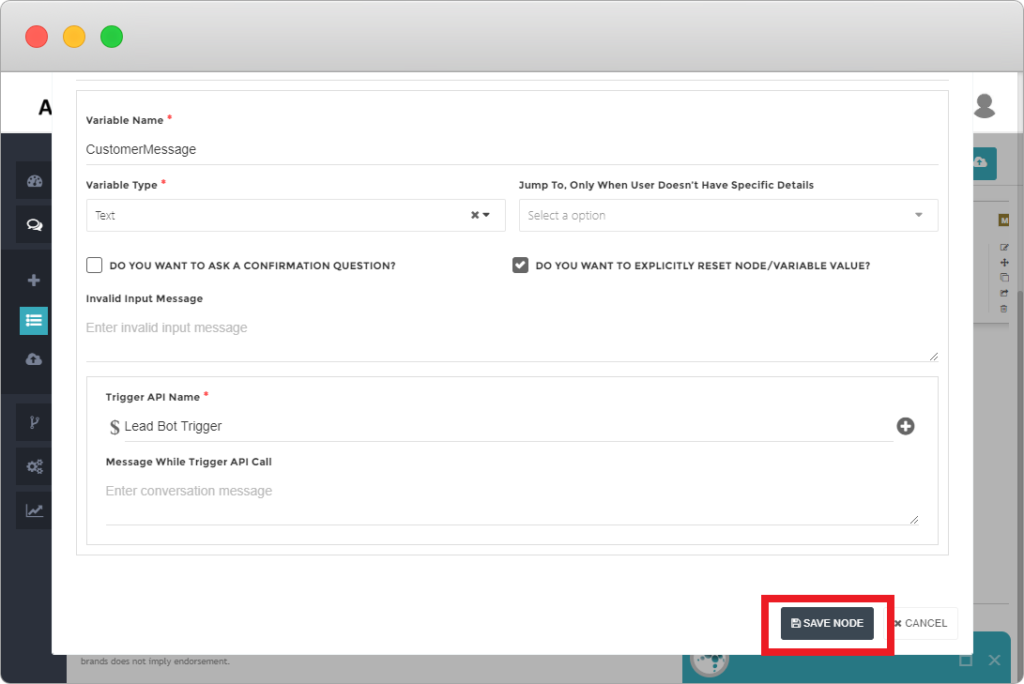
12. To consume the Lead Bot API/ Trigger in the conversation. add a new node in conversation. Set Use API Call and set Trigger Name as shown below. Click Save.
13. Run the bot using tryout. Your API will be called at the step where the trigger is set.
14. You can deploy the bot on your website. To know more details, check Installing Chatbot on your website.