Customising Chatbot’s Appearance
You can customise the look and feel of chatbot to make it consistent with the webpage theme. You can customise following items:
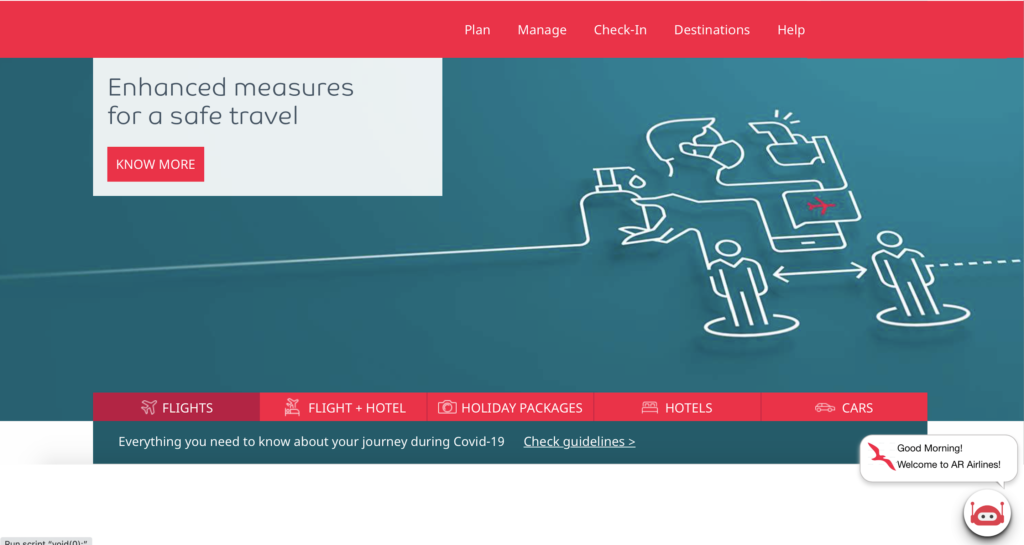
- The chatbot icon seen on webpage before opening the chatbot.
- The text bubble above the chatbot icon before opening the chatbot
- Theme color
- Chatbot widget header text
- Chatbot Avatar
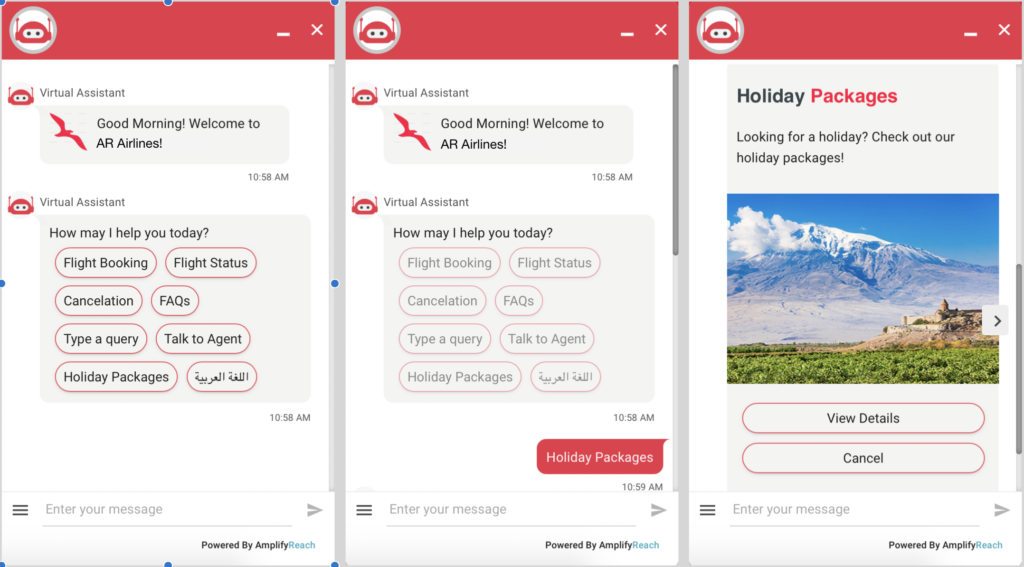
- Name of the Chatbot
Changing Chatbot Theme
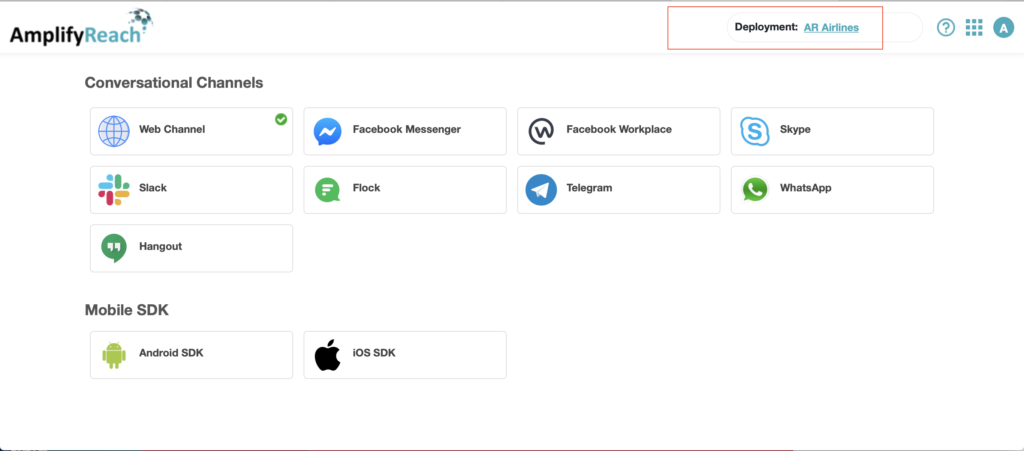
To change the chatbot icon, goto Channels -> Select Deployment -> Select Web as shown below
Select Settings -> Chatbot Theme
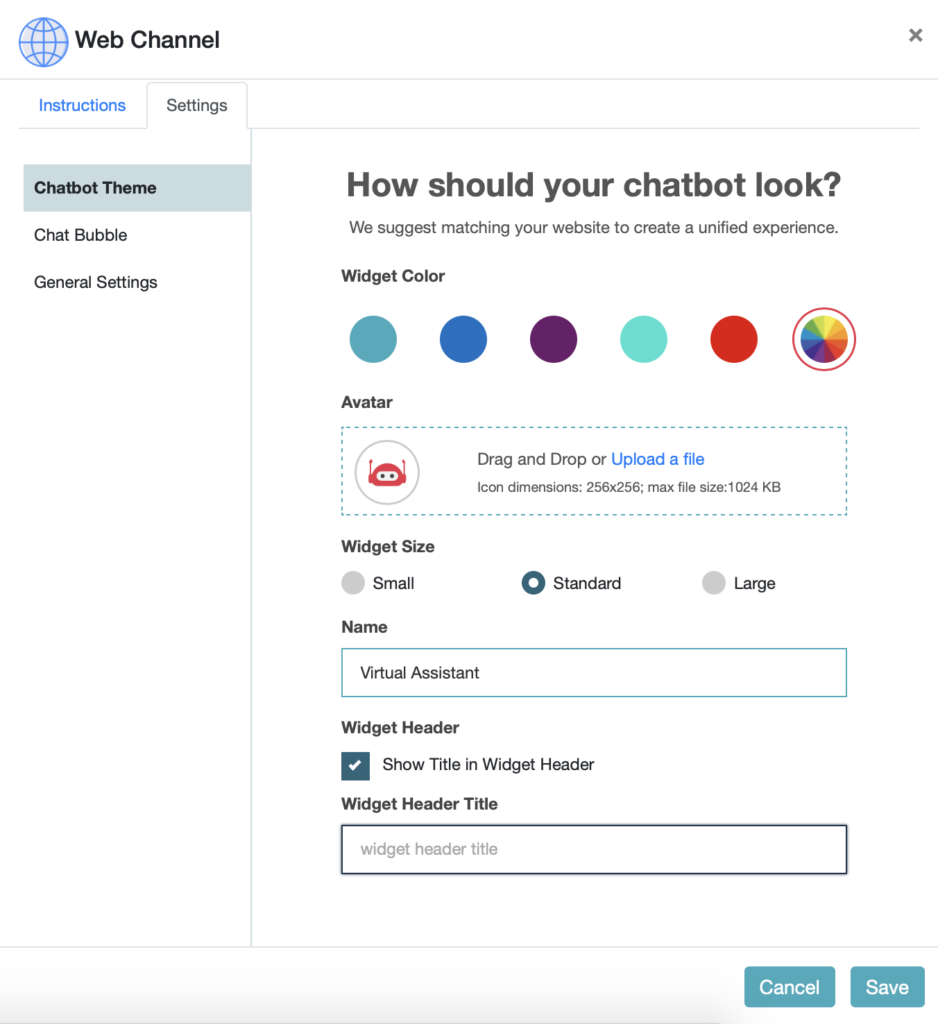
You can customise the chatbot look and feel in following ways:
Widget Color: Choose a color that matches your websites theme. This makes the chatbot appear as part of the system. Changing the widget color will change:
1. Title bar color,
2. Color of UI Controls,
3. Background color of text entered by user.
Avatar: This is the icon shown in header and in front of each Bot Message.
Widget Size: You can select the size of chatbot window small, standard or large.
Widget Header Title: This is optional. You can select and set the title for chatbot window if required.
Changing Chatbot Icon on Webpage
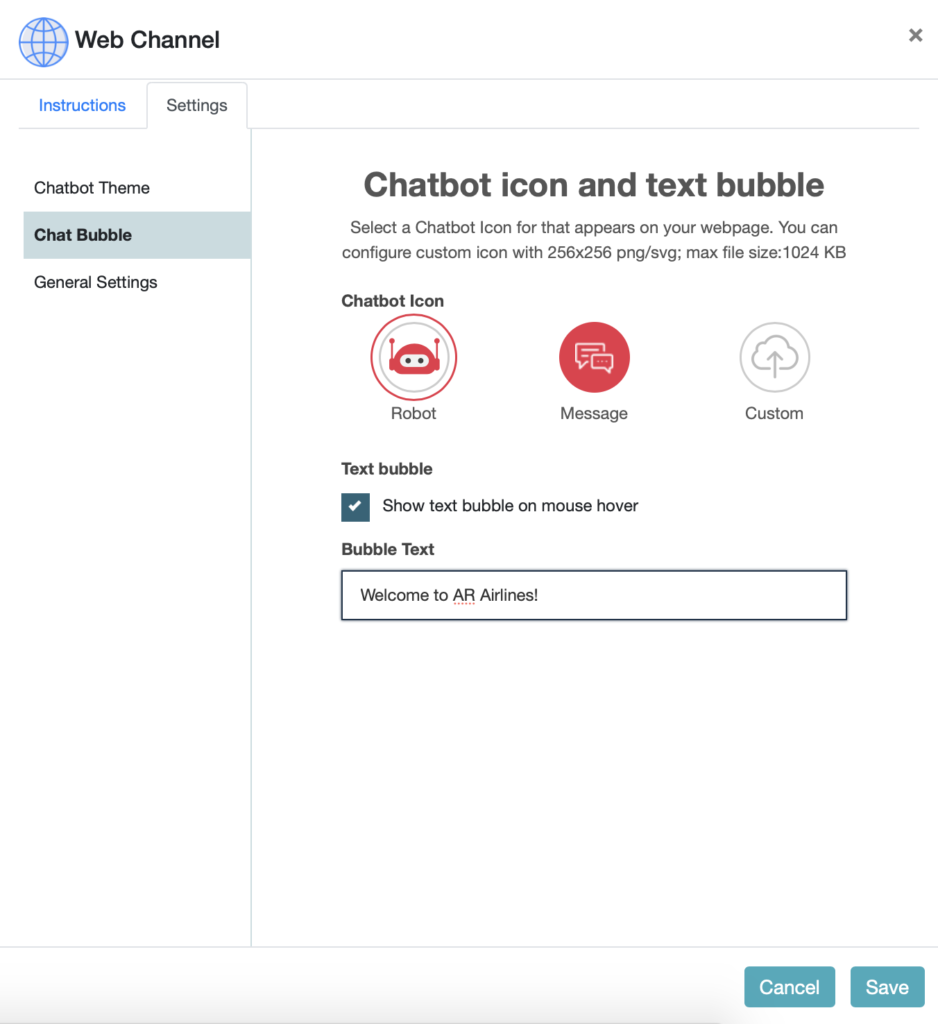
To change the chatbot icon on webpage, goto Channels, Select Deployment -> Select Web channel -> Settings -> Chatbot bubble
Chatbot Icon: You can select default icon, matching to selected theme color OR you can upload your custom icon. This will change the chatbot icon on your webpage.
Text bubble: This is optional setting. You can choose to show a welcome message on loading the chatbot, or on mouse hover on chatbot icon.
Related Links
You can customise the default messages set in chatbot.